shelf

DKK Sites


home
about me
tou
links
my certificates

webrings
email

Other sites we have


nd

ccnt
alms


shelf


guestbook

dkk

zindy1 zindy2

divider

This tutorial was writen by me and any resemblance to it is by chance. Do not repost this tutorial to any site. A working knowledge of PSP is assumed I am using PSP Version Paint Shop x5 and should work with any other version.

If you are a group and would like to use this tutorial for a challenge or just to post the link please post the link only to send them here.

If you wish to share with groups send them here to do the tutorial. If as a group you would like to share your results with me please E-mail me with the subject group shares tutorial https://dkkstudio.us/tutsonpages/loveworld.

I also want to thank all my testers in advance for all the work to help get this to a level everyone can understand and work with.

divider

Love makes the world go round

Supplies

divider

Let's get started

divider

1 tube that is a couple or 2 tubes 1 male one female. The tube I used is Your Kisses by Zindy S. D. Neilsen and can be found at her store. Zindy Zone Shop
You need to have a Zindy License to use her work wich you can get through the store as well.

1 script font HogarthScrJoiD or a font of your choosing.

1 Heart bush Place this in your brush folder .
1 Mask with heart shape Place this in your mask folder
I have included a zip file Supplies Place this in your mask folder

Word art (I used Love makes the world go round from Genea) can be found at Here

divider

Plugins needed

Gradient glow (Eyecandy 4000) is the one I used so settings will reflect that. (optional) Bevel Boss( Eyecandy 4000)

Step one

Open your Word art and your open your Tube or Tubes
Duplicate all then close orginals as to not ruin them.

Adding color to the heart

Open a window with the size of 500x500
fill the background with red (I chose the red from the word art #7c0101)

Go to Layers menu and down to Load/save mask then to Load mask to disk


Once you have the mask colored to the red.

Go to your layer palette ( This is the small window on the side that shows the layers)
Right click and merge the group together.
Duplicate your window by holding the (Shift key and the D)
Minimize one and size the other down to 275 x275 as we are going to use this one first.
Leave open on the side of your screen .

divider

Step 2

1.Open a new window 820 x310 (This size is for the Facebook Timeline)
2.Fill with a soft color or white
3.Go to effects and down to textures (can use what you want here I used Grain Long)

If you need to see larger size of Picture please click on picture to come back to this page click the browser back button.

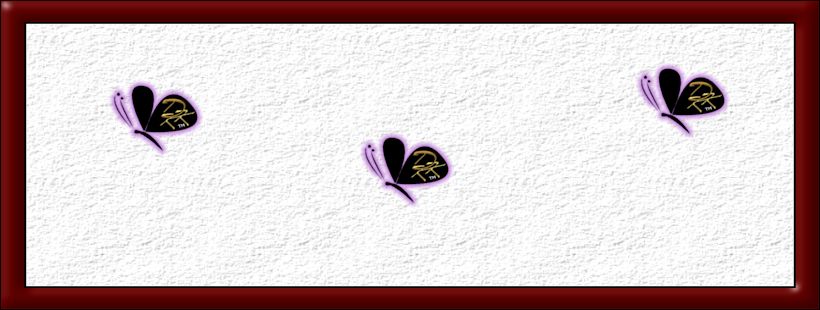
4.Border

Add border of 2 pixels #000000
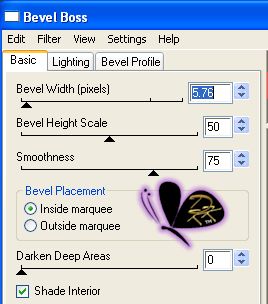
(remember when you add a boarder it will merge the picture down to one layer) add border of 15 pixels #7c0101 on this border add bevel ( optional) Using bevel boss of eyecandy 4000
add boarder of 2 pixels #000000
(remember when you add a boarder it will merge the picture down to one layer)
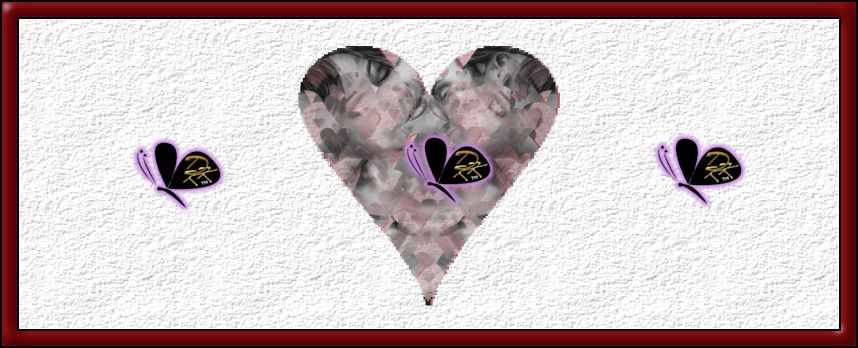
5. Take your newly made heart and size it down to about 275x 275
then copy to your working window ( the 820x310 window) on a new layer
Leave this in the center
Select all ( Control + A) or going to the select menu and clicking select all
Float the heart ( Control + F) or going to the select menu and clicking Float
Then Defoat the heart ( Control Shift F)

6. Maximize your tube
Copy your tube
Add a new layer to your tag
Copy your Tube and Paste in to selection
7. Take your colored heart and size down to 50%
Place in top left and bottom right of tag
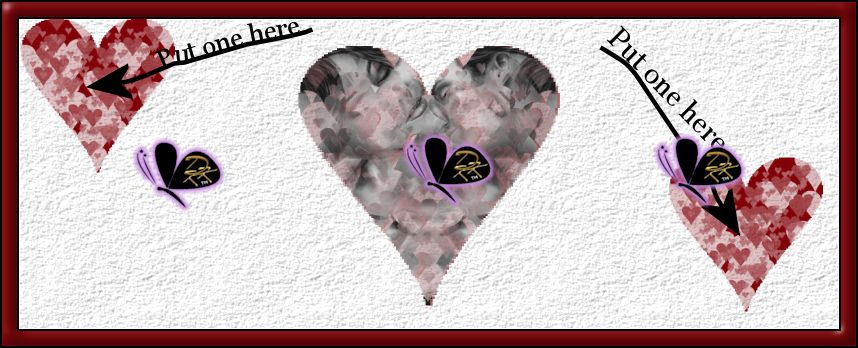


8. Using brushes Heart shaped fill the left side of the tag


9. Add the word art ( I had to size mine down some)



10. Add name Using font at size of 72pixels



11. Add copyright info. Using a pixel font or small font ( mine is Pixette at 10 pixels)



12. Finished tag



divider

Step 3

Making the av to go with. 1. open new window sized to 180x180 ( this is for the timeline in facebook)
2. fill with white or ( light color)
3. add texture same as timeline tag
4. add borders this time make it 2 black 2 the same red and 2 black
5. Add red heart sized down to center of tag
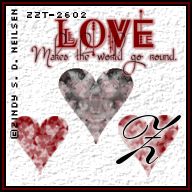
6. add couple tube to center of tag
7. add colored heart to either side at bottom of tag
8. add wordart sized down to fit at top right of tag
9. add name or initial
10. add copyright info and license info.

divider

That's it


divider


divider


footer