|
Open papers 8, 10, 12, 1, 2
open elements 5, 6, 27, 28, 35 (the poser)
Open the template duplicate it and close the orginal
Open a new window 400x400 or size you would like.
Open mask ( from supplies)
Max your template turn off all layers then go to bottom layer and add add paper 10 to the bottom layer
Add new layer then Select all, copy and paste your disc set on to a new layer
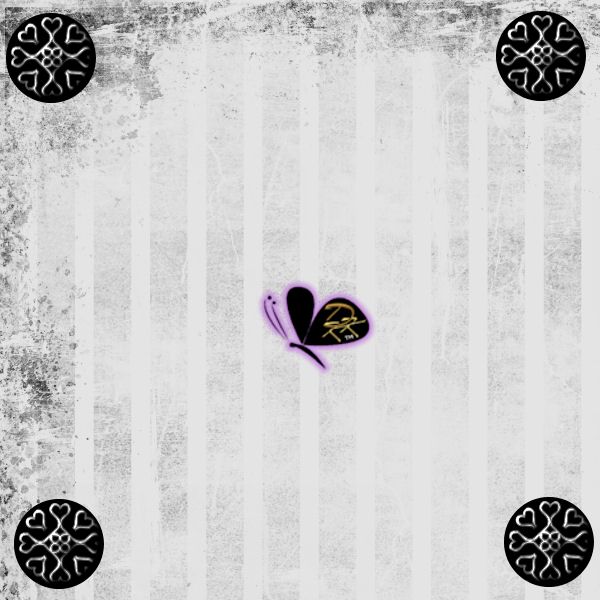
Now open your layer 3 of the template This should be the shadow of the heart in the center. We do nothing to this layer.

Open Layer 4 which is the red of the same heart. (We do nothing to this layer).
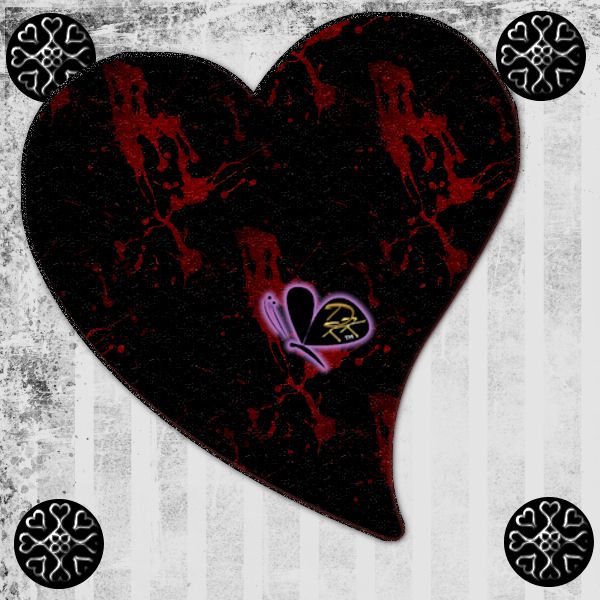
Turn on red layer from template then set transparance to 50.

Float this layer by holding down the (control + F Key) then to defloat
Hold down the (Control key, the shift key and the F Key)
Fill this with the paper 12 from the kit
select none either by going to the select menu and down to select none or holding down the (control key and the D)
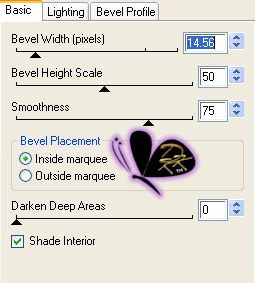
Add bevel by going to effects menu down to plugins then to Eyecandy 4000 (Bevel boss)
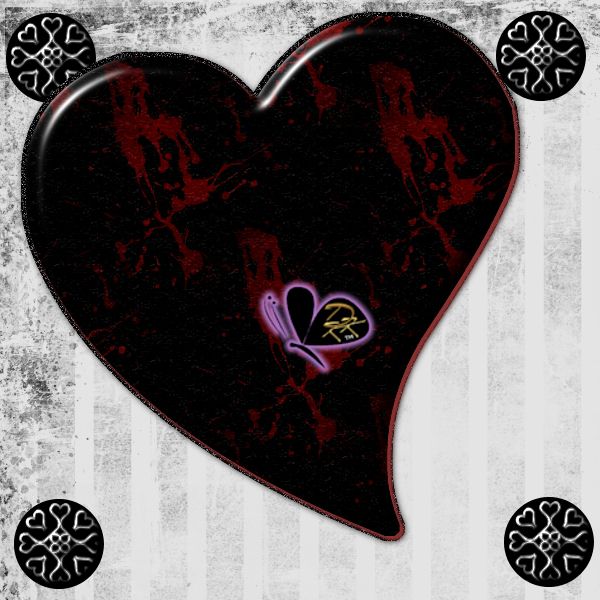
bvlcnthrt
Paste element 4 to the right side of the picture

add drop shadow
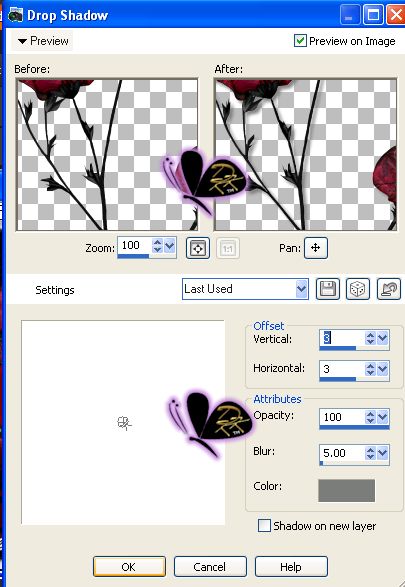
paste element 4 to the right side of the picture

add drop shadow

open shadow on small heart bottom right side.


Open next layer (shadow of x-small heart on right side)

Go up to the next layer and open the heart on the right side
Select all (Control+ A), Float ( control + F), Defloat (control + shift + F)
Modify this by going to the select menu then down to modify contact and set this to 2
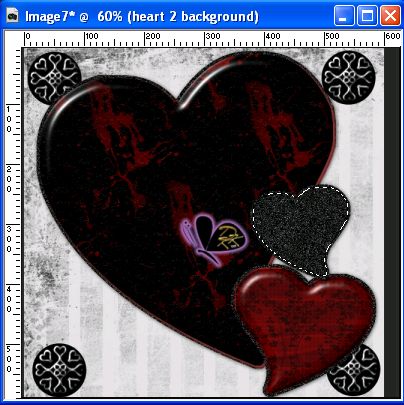
Keep Selected then paste paper (7) in to the heart.
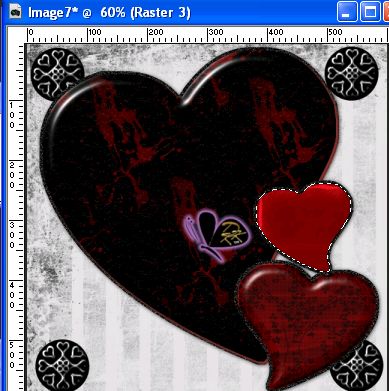
Keep selected then go to effects and to Eyecandy 4000 and to Glass and use these settings
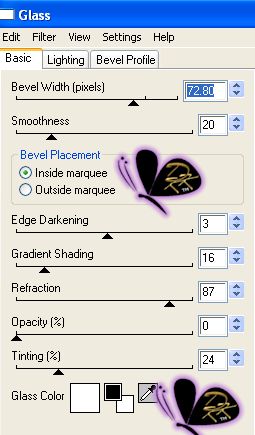
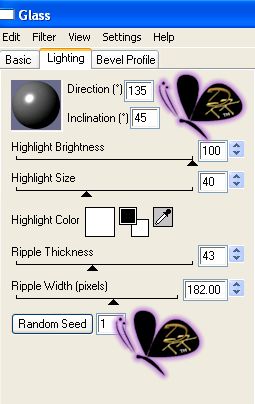
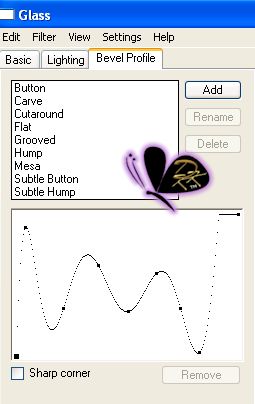
Turn on your next layer which should be the shadow to the word down the left side. Select all (Control + A) (Control +F) then to defloat ( Control, Shift + F)
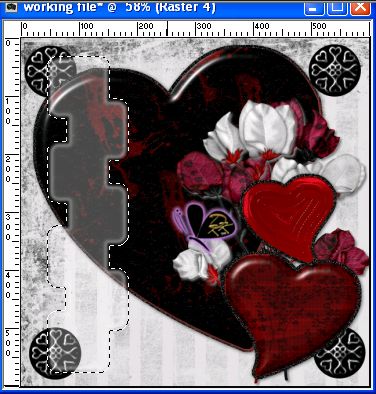
Fill with white ( #ffffff) then deselect (control + D)

Open next layer up and Select all (Control + A) (Control +F) then to defloat ( Control, Shift + F)
Fill with Paper 14 from the kit then deselect (control + D)
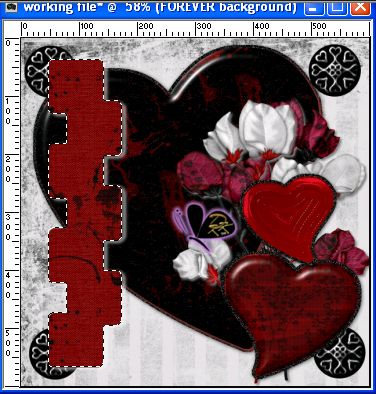
Open next layer up and Select all (Control + A) (Control +F) then to defloat ( Control, Shift + F) .
Leaving the color of black add noise (default) then add bevel with same settings as above then deselect (control + D)
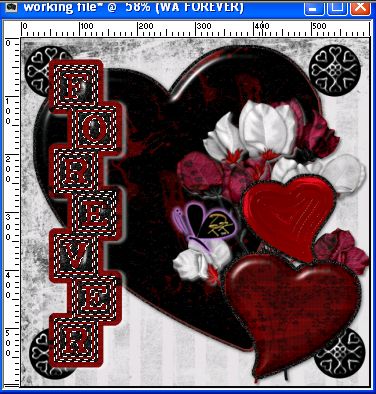
Open 3 layers up This will be for the words "Our Love Is.... (shadow), (Background) and (black layer)
Open 3 layers up This will be for the words "And Then Some(shadow), (Background) and (black layer)
You should have something like this now

Size down and add your tube as new layer

Add drop shadow with same settings
Add the copyright information and dropshadow if needed

Add boarders as follows.
Go to the image menu and down to add boarders with the setting of 2 pixels and the color #480001 (this is a dark red from the pattern in the center heart.

For the second border make this one 25 with the color of blue (#0000ff) then fill with a color from the tag.
Once you fill with a color from the tag we are going to use rotating mirror with the following settings


Add word art to your tag in the upper right side. Add drop shadow with same settings.
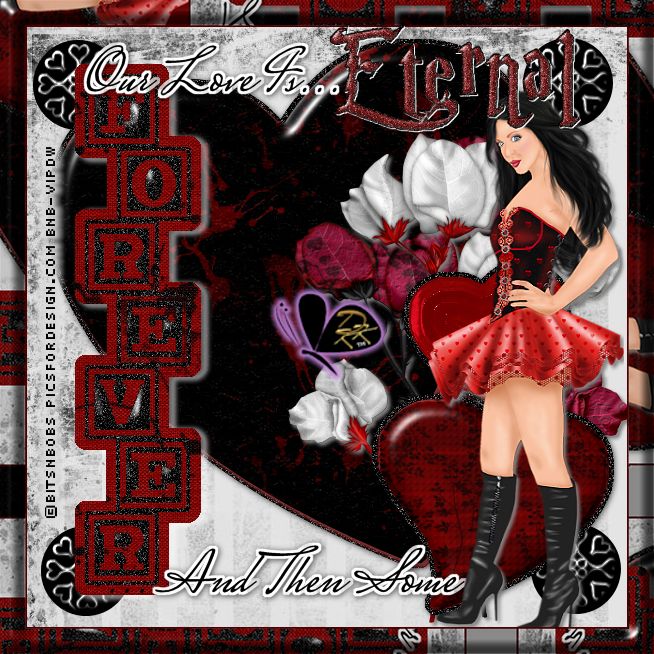
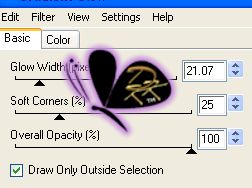
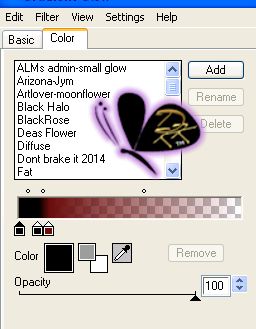
Next step is to add the name you want. First type out the name in the size you want and in #ffffff(white). Next add Gradient Glow with the following settings.
Your done. hope you enjoyed this tutorial. If you would like to send me a finished tag you can send by clicking on the e-mail link below and using the subject Eternal tutorial.
|